I have a bulk of old Video8, Digital 8, and MiniDV tapes which shall be digitised for long-term conservation and easy accessibility. So the first question was: How to get the video content from tape to hard drive?
Tape Formats and Suitable Hardware
There are the older 8mm video tapes, which can contain analog Video8, Hi8, or digital Digital8 content. And, there are smaller MiniDV tapes, which can contain SD-quality DV-movies and HD-quality HDV-movies.
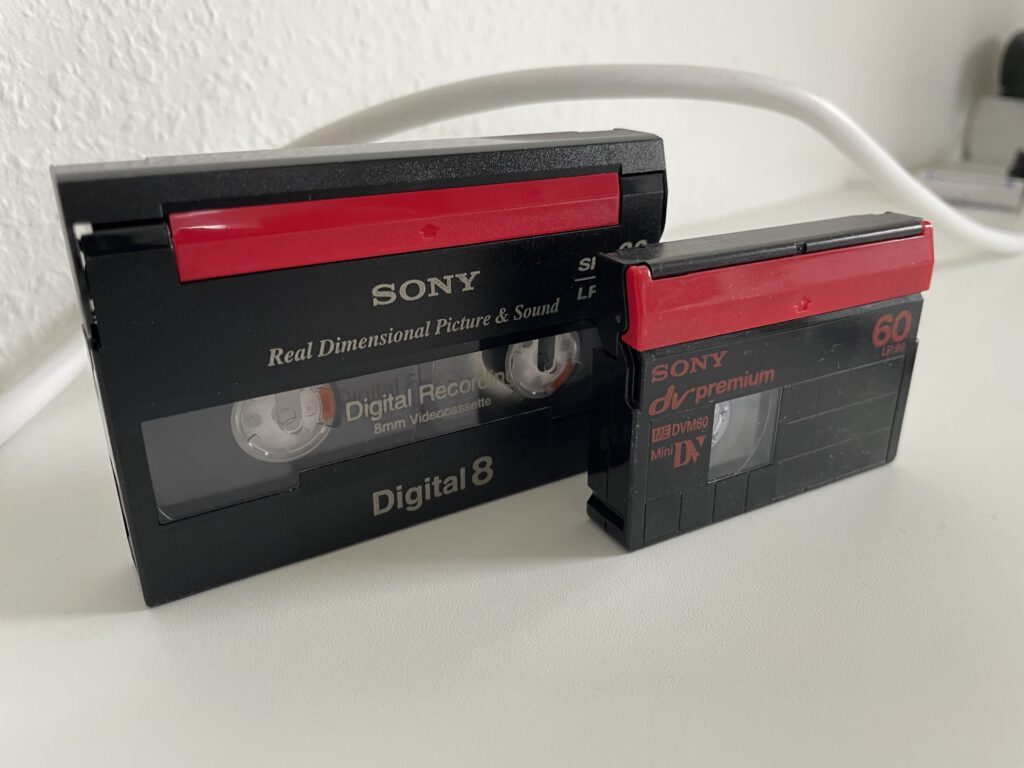
8mm video tapes (Hi8, Video 8, Digital 8)
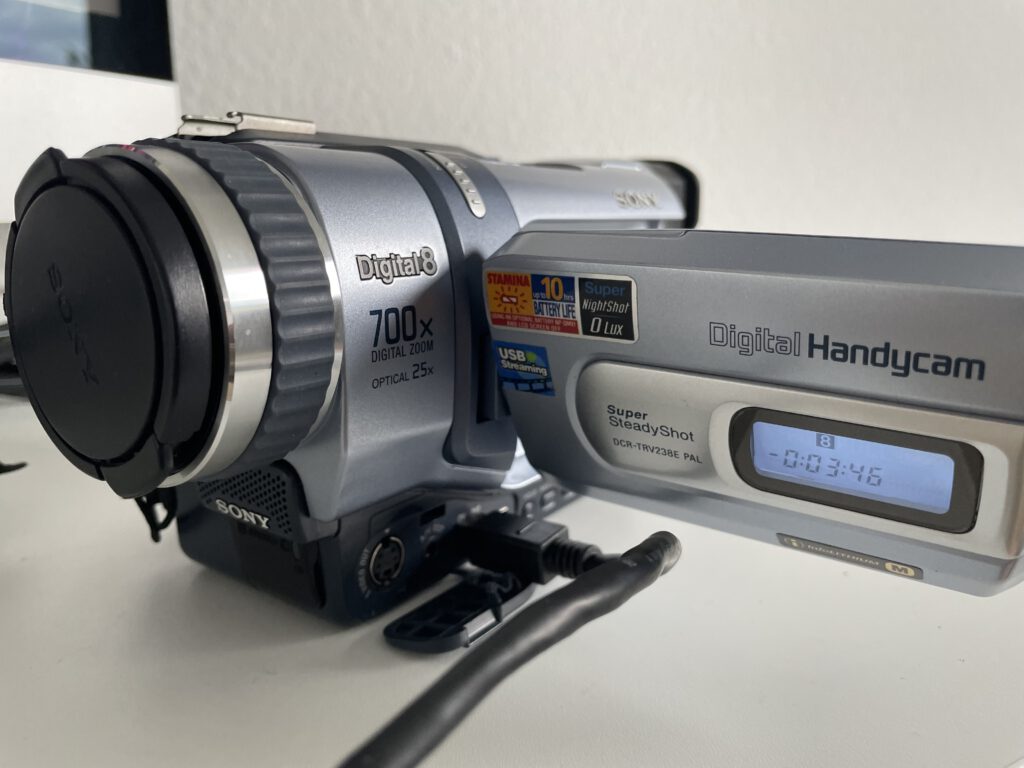
Use a Digital 8 camcorder, which is backwards compatible to Video8 and Hi8. These devices internally convert the analog video to a digital signal, which allows capturing at highest possible quality. The device needs to have a FireWire/DV-Out port. I am using a Sony DCR-TRV238E PAL.
MiniDV tapes (+ HDV)
The videos on MiniDV tapes are (similarly like Digital 8 tapes) stored digitally. However, newer camcorder use the HDV-Codec to store even HD-videos on the same tapes. I’d suggest to use an HDV camcorder to have full compatibility to all tapes. Of course, this device needs a FireFire/DV-Out port. I use my Canon HV30.

Analog vs. Digital Tapes
Digital Tapes: Digital 8 + MiniDV / HDV
These tapes are already recorded in digital format, but stored on a tape. These digital tapes include some metadata like tape-timecode and more importantly the date/time of the recording. iMovie (as an example for a suitable capturing software) recognises jumps of the timecode and creates separate files for every take. These takes are named including the date/time of the recording.

Analog Tapes: Video 8 / Hi8
These tapes were recorded analog. A suitable Digital 8 camcorder can directly convert these tapes to a digital format and digitally send them over Firewire to the computer. So, the resulting files are also in uncompressed DV-Format, but without metadata-information and without automated take-cutting.
Mac Software
The first task is simply to capture the tapes at the highest possible quality. With every mac comes iMovie, which does the job of uncompressed capturing perfectly fine. Besides there is purpose-made software like LifeFlix, which I tested but I am seeing to point for spending 100$ for no additional necessary feature.
Recent iMovie Version (from Mac App Store) for recent Mac
On newer Macs iMovie can be downloaded from the Mac App Store. However, if the Mac does not run the most recent macOS Version, the Mac App Store does not allow to download the most recent iMovie Version from the iMove-App-Store-Page. To get the latest compatible version, go to “Purchased Apps” and then download iMovie from there.
The resulting files are saved within an iMovie-Library-Container. Open that container (right click, show package content) and move the files to a secure place. The files are saved in uncompressed DV-Format within a .mov container.

iMovie Version 9 for Older Macs
Even ten year old macs, like my Mid-2010 MacBook Pro, are suitable for capturing DV tapes. The MBP runs macOS 10.13.6 High Sierra, which is not compatible to the most recent iMovie version. Therefore, download iMovie 9 from Apple’s Homepage. The downloaded .pkg file wont allow installation. So, you need the tool unpkg to extract the app. Then iMovie 9 is fully useable.
iMovie 9 has an “automatic mode”, which is super helpful. It rewinds the tape, records it, and then rewinds it again. Be aware, if there is a recording gap on the tape, then iMovie might assume the tape ended. So, if the captured material is less than the tapes capacity, manually check the completeness of the capturing. The film is saved in “~/Movies/iMovie …” as an uncompressed .dv file.
